There’s something magical about stepping into a car that smells amazing, and if you’ve ever wondered how to make car air freshener diffuser to create that perfect scent, you’re in the right place. The smell of fresh pine, a zesty citrus burst, or a soothing hint of lavender instantly shifts your mood from “ugh, traffic jam” to “let’s enjoy this ride.” But here’s the catch most commercial car air fresheners can be overwhelming, synthetic-smelling, and often filled with chemicals you can’t pronounce.
If you’ve ever wished for a car freshener that’s natural, affordable, sustainable, and, most importantly, tailored precisely to your scent preferences, you’re about to love this. Today, I will show you how to make a car air freshener diffuser with essential oils a fun DIY project that transforms your car into a fragrant oasis wherever you go.
Contents
- 1 Why a DIY Car Air Freshener Diffuser Is the Game-Changer You Need
- 1.1 What You’ll Need to Make Your Car Air Freshener Diffuser
- 1.2 Step-by-Step Guide: How to Make Car Air Freshener Diffuser with Essential Oils
- 1.3 Safety First: Essential Oil Use Tips for Your Car
- 1.4 Sustainability and Affordability: Why This DIY Diffuser Is a Win-Win
- 1.5 Creative Variations: Personalize Your Car Air Freshener Diffuser
- 1.6 FAQs: Your Top Questions Answered
- 1.7 Final Thoughts
- 1.8 About the Author
Why a DIY Car Air Freshener Diffuser Is the Game-Changer You Need
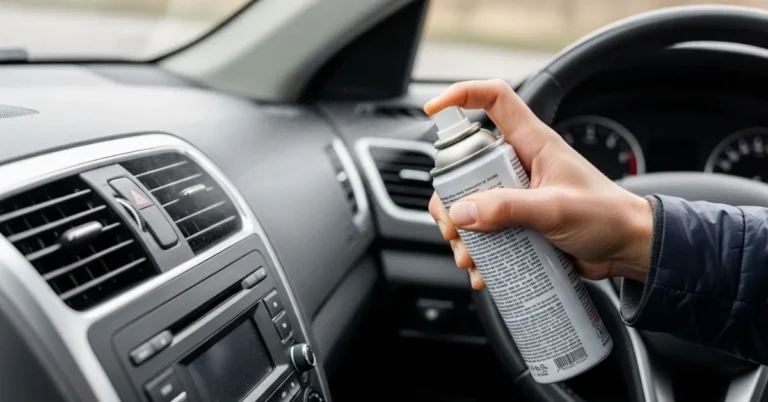
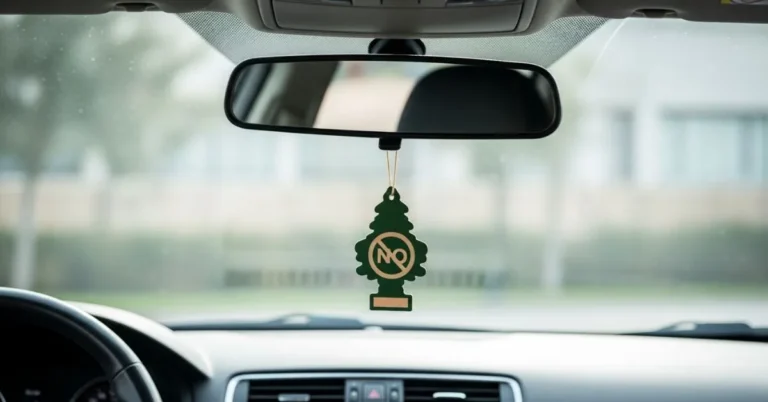
Let’s be honest: store-bought car fresheners have their charm those little hanging trees or vent clips are everywhere. But behind the convenience lies a less-than-pleasant reality. Many of these products rely on synthetic fragrances and plastic that can cause headaches, allergies, or worse. Plus, they often have a short lifespan, and when the scent fades, it’s straight to the trash bin, adding to landfill waste.
By choosing to make your car air freshener diffuser with essential oils, you control every aspect from the scent notes to the materials. It’s greener, often cheaper in the long run, and more rewarding. Imagine cruising down the highway knowing your car smells uniquely YOU, without the chemicals.
What You’ll Need to Make Your Car Air Freshener Diffuser
Before jumping in, let’s gather everything you’ll need. This DIY project requires minimal supplies, many of which you might already have at home.
Essential Oils – The Star of Your Diffuser
Essential oils are potent plant extracts, bursting with rich, therapeutic fragrances. They’re perfect for freshening up your car naturally. Some popular choices include:
- Lavender: Calming and relaxing
- Peppermint: Energizing and refreshing
- Lemon: Bright and uplifting
- Eucalyptus: Clears the air and invigorates
- Sweet Orange: Warm and cheerful
Feel free to mix and match for your signature blend!
Diffuser Base Materials
The diffuser base absorbs and slowly releases the essential oils. Here are some renter-friendly, affordable options:
- Wood beads or pendants: Naturally porous, they hold scent well.
- Felt pads or sachets: Inexpensive and easy to refresh.
- Terracotta charms: Handmade and highly absorbent.
- Cotton balls or pads: A Quick and disposable option.
Hanging Materials
You’ll need a thin cotton string, leather cord, or twine to hang your diffuser safely inside the car.
Additional Tools
- Small funnel (if using essential oils in bottles)
- Scissors
- Small spray bottle (optional for quick freshening)
Read More: How to Put an Air Freshener in Car Like a Pro: Easy DIY Tips
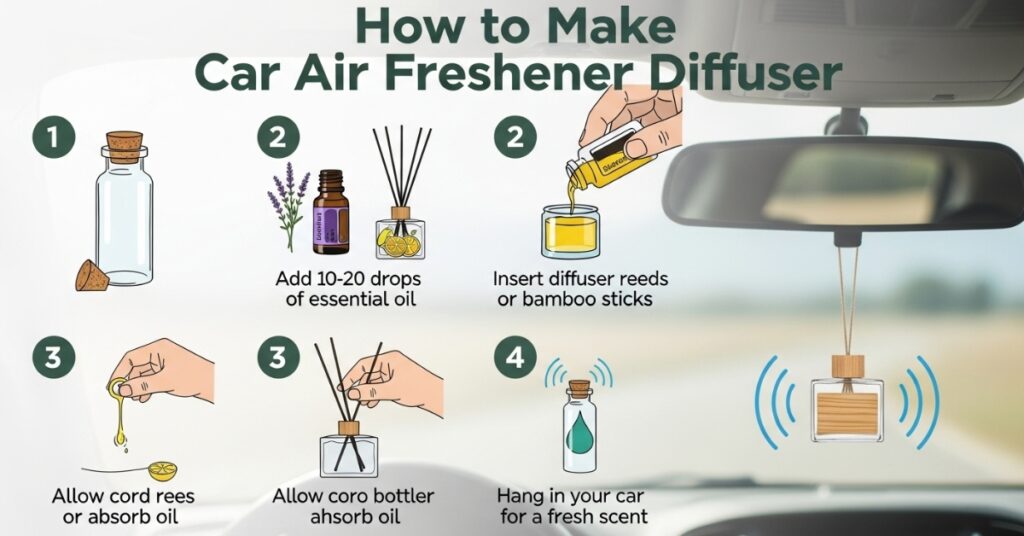
Step-by-Step Guide: How to Make Car Air Freshener Diffuser with Essential Oils
Ready to get crafty? Follow these steps carefully for a fresh, long-lasting car scent.
Step 1: Select and Blend Your Essential Oils
Start by choosing your favorite essential oils. This is where your creativity shines.
- For a calming, spa-like vibe: Mix 3 drops of lavender + 2 drops of eucalyptus
- For an energizing morning drive: Mix 3 drops of peppermint + 2 drops of lemon
- For a cozy, warm scent: Mix 2 drops sweet orange + 2 drops cinnamon (optional)
Blend your oils in a small glass dish before applying them. Remember, essential oils are potent always use small quantities to avoid overpowering the car interior.
Step 2: Prepare Your Diffuser Base
Depending on your chosen base, here’s what to do:
- Wood beads/pendants: Place beads in a small glass bottle or pouch and add 5-8 drops of your essential oil blend. Shake gently to distribute.
- Felt pads: Saturate a felt pad lightly with your blend. Avoid soaking to prevent dripping.
- Terracotta charm: Use a small brush or dropper to apply your blend evenly on the charm surface.
Step 3: Assemble Your Diffuser and Hang It Safely
Tie your diffuser base securely with your cord or string. Hang it from your rearview mirror or air vent, but ensure it doesn’t block your view or interfere with driving controls.
Pro tip: Keep hanging from the lightweight and compact rearview mirror to avoid distractions or accidents.
Step 4: Refresh the Scent Regularly
When you notice the scent fading (usually after 1-2 weeks), add 2-3 more drops of your essential oil blend. Got it! Here’s a fresh, unique rewrite for that sentence: Keep a handy spray bottle filled with a mix of 10 drops of essential oil, 2 ounces of distilled water, and a tablespoon of witch hazel for a quick, natural scent refresh whenever your car needs it. Spray lightly inside the car or onto your diffuser base never directly onto fabric or the dashboard to avoid stains.
Safety First: Essential Oil Use Tips for Your Car
Essential oils are natural but strong here’s how to use them safely in your vehicle:
- Always dilute before use. Never apply undiluted oils to your skin or car surfaces.
- If you have pets riding along, avoid oils like peppermint, eucalyptus, or tea tree, which can be toxic.
- Test your blend by smelling it outside the car first to check for irritation or sensitivity.
- Avoid overpowering scents that can distract your focus while driving. Keep it subtle and pleasant.
Sustainability and Affordability: Why This DIY Diffuser Is a Win-Win
This project is a stellar example of eco-friendly living that doesn’t break the bank. You avoid plastic waste from commercial fresheners, and many essential oil brands use sustainable harvesting practices and recyclable packaging.
The materials wood beads, cotton pads, and terracotta are reusable or biodegradable. Plus, your personalized blends mean less wasted product, making your car not just fresher but greener, too.
Creative Variations: Personalize Your Car Air Freshener Diffuser
Feeling adventurous? Here are some cool twists:
- Car vent diffuser: Attach a felt pad infused with oils inside a vent clip for scent dispersed through airflow.
- Car diffuser bracelet or keychain: Carry your scent or hang it stylishly inside your car.
- Seasonal blends: Create pumpkin spice for fall, peppermint, and pine for winter holidays.
Read More: How to Wash a Car Without a Water Hose in 5 Simple Steps
FAQs: Your Top Questions Answered
1. How often should I add essential oils to my diffuser?
Typically, every 1-2 weeks, depending on scent intensity and car size.
2. Can I use any essential oils?
Most oils are fine, but avoid those that are unsafe for pets or those you’re allergic to.
3. Is it safe to hang from the rearview mirror?
Yes, if it doesn’t block your view or distract you while driving.
4. How do I clean or replace diffuser materials?
Wipe wood beads gently with a damp cloth. Replace felt pads when they lose scent or get dirty.
5. Can I make a spray instead of a diffuser?
Absolutely! Mix essential oils with distilled water and witch hazel for a refreshing spray.
Final Thoughts
Now that you know how to make car air freshener diffuser with essential oils, you’re all set to enjoy a naturally fragrant, personalized driving experience. This simple DIY offers a refreshing alternative to synthetic sprays and plastic trees, bringing sustainability, affordability, and your own signature scent right into your car.
So pick your favorite oils, get creative with your diffuser base, and make your car smell like a little slice of heaven on wheels. Happy driving and happy scenting!