You know that moment when your dog shakes their head like they’re auditioning for a shampoo commercial and then you see a spray of blood on your couch, the walls, and your favorite hoodie? Yeah, been there.

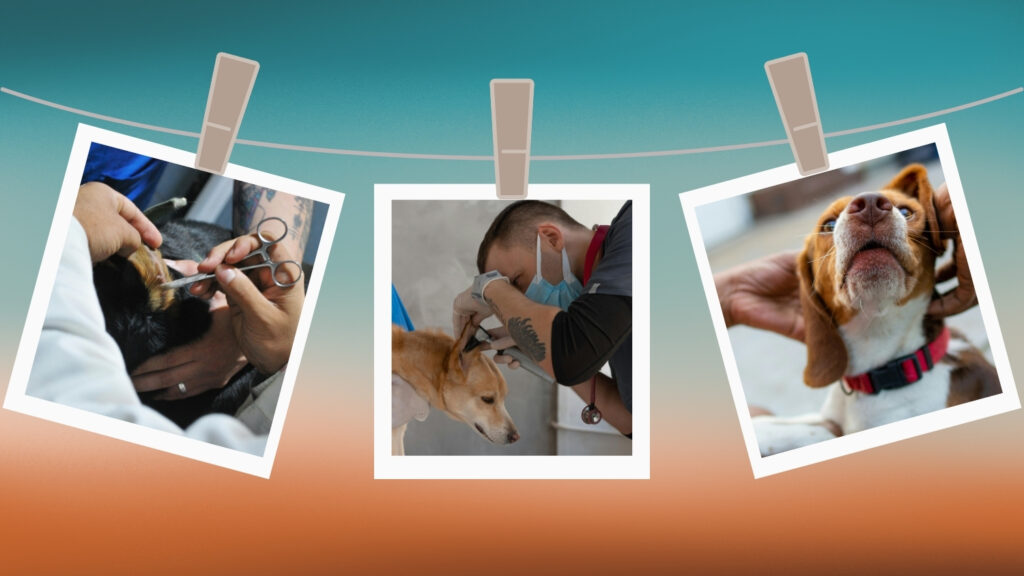
It happened to me with Max, my ever-energetic beagle. One minor ear scratch turned into a full-blown crime scene in under five seconds. After the initial panic, I realized I needed to figure out how to bandage dog ear at home and fast.
If you’re reading this, you’re likely in the same boat. Take a deep breath, grab your treats (for the dog and yourself), and let’s walk through exactly how to handle a dog ear injury like a pro without the panic.
Contents
- 1 When NOT to DIY: Signs Your Dog Needs the Vet
- 2 What You’ll Need: Your Doggy First Aid Kit
- 3 Step 1: Calm the Canine Chaos
- 4 Step 2: Clean the Wound (Without Drama)
- 5 Step 3: Gauze It Like You Mean It
- 6 Step 4: The Right Wrap Technique (Trust Me, This Matters)
- 7 Step 5: Monitor, Rewrap, Repeat
- 8 Going Green with Doggy Wound Care
- 9 Quick Reference Checklist: How to Bandage Dog Ear
- 10 FAQs About How to Bandage Dog Ear
- 11 Experts Thoughts: You’re a Canine Medic Now
- 12 About the Author
When NOT to DIY: Signs Your Dog Needs the Vet
Before we get into wrapping and taping, let’s talk safety. Some situations call for professional care no bandage or blog can replace that.
Don’t try to bandage at home if:
- The bleeding hasn’t stopped after 10–15 minutes of steady pressure.
- The wound is deep, jagged, or visibly infected.
- There’s a growing lump or hematoma (looks like a balloon under the skin).
- Your dog is clearly in pain or showing signs of trauma.
- There’s debris or a foreign object stuck in the wound.
If you’re unsure, err on the side of caution and call your veterinarian. Better to have a quick checkup than a worsening infection.
What You’ll Need: Your Doggy First Aid Kit
Before you start wrapping like a canine mummy, gather all the necessary items. The last thing you want is to discover you’re out of gauze mid-bandage.
Must-Have Supplies:
- Sterile gauze pads
- Pet-safe antiseptic wipes or spray (look for alcohol-free, vet-approved options)
- Self-adhesive wrap (like Vet Wrap – sticks to itself, not fur)
- Medical tape (gentle, hypoallergenic)
- Blunt-tip scissors
- A cone or soft recovery collar (to prevent paw sabotage)
Pro Tip: Opt for eco-friendly or reusable wraps if you’re big on sustainability. Some brands offer biodegradable gauze and plastic-free bandage rolls!
Read More: Why Does My Dog Scratch His Bed? 7 Common Reasons
Step 1: Calm the Canine Chaos
Before you even touch your dog’s ear, check in with your vibe. Dogs pick up on your energy faster than you can say “snack.”
- Speak in a calm, reassuring tone.
- Offer treats and soothing pets.
- Have a second person hold your dog gently but firmly.
- If your dog is wriggly, try a calming wrap or a towel “burrito” to keep them still and comfy.
Remember: A calm dog = a cleaner, safer bandage.
Step 2: Clean the Wound (Without Drama)
Now comes the clean-up. This part is critical for preventing infection.
- Blot any excess blood with a clean cloth or tissue.
- Gently clean the wound using pet-safe antiseptic wipes or spray.
- Avoid anything containing alcohol, peroxide, or essential oils these can cause stinging or irritation.
- Pat dry with a soft, clean cloth or let air dry for a minute.
Don’t scrub! You’re not cleaning a cast iron skillet gentle is the name of the game.
Step 3: Gauze It Like You Mean It
Once the area is clean and dry, it’s time to shield it.
- Fold or cut a sterile gauze pad to fit over the injured part of the ear.
- Place it gently over the wound, making sure it’s not hanging off the edge.
- Hold it in place with one hand (or have your helper do it) while you grab your wrap.
This layer acts as a cushion, keeping the wound clean under the bandage.
Step 4: The Right Wrap Technique (Trust Me, This Matters)
Here’s where the magic happens. And no you don’t just wrap the ear like a burrito.
The Vet-Approved Ear Wrap Method:
- Fold the injured ear gently across the top of your dog’s head toward the uninjured side.
- Starting under your dog’s chin, bring the wrap-up and over the top of their head, and then fold the ear.
- Continue to wrap around the head, not the neck. You want it snug but not too tight. Always make sure you can slide two fingers under the wrap.
- Do a couple of loops around the head to secure the ear.
- Avoid the throat and neck area never restrict breathing or swallowing.
Pro Bandaging Goals:
- Keep pressure light but secure.
- Make sure both ears are visible if only one is injured (for balance and cooling).
- Tape the end of the wrap in place — no pins or clips are needed.
Step 5: Monitor, Rewrap, Repeat
Whew! The bandage is on but you’re not done yet.
Here’s your next-day game plan:
- Check the bandage every few hours: Is it slipping? Is your dog scratching at it?
- Change the bandage once daily or sooner if it becomes wet, dirty, or loose.
- Look for signs of infection, such as a foul odor, pus, warmth, or swelling.
- Keep the ear wrapped for 1–3 days or until the wound starts to scab and seal.
Always remove the wrap at night if advised by your vet or if your dog is calm and not scratching.
Going Green with Doggy Wound Care
Want to care for your pup and the planet?
- Choose reusable bandage cloths when possible.
- Skip plastic cones soft fabric recovery collars are washable and biodegradable.
- Dispose of used gauze properly in compostable paper, not plastic bags.
You’re not just a dog parent you’re an eco-warrior in disguise
Quick Reference Checklist: How to Bandage Dog Ear
Here’s your fast-and-furious reference guide:
✔ Calm your pup with treats and sweet talk ✔ Clean wound with pet-safe antiseptic ✔ Apply gauze pad gently ✔ Fold ear overhead carefully ✔ Wrap securely around the head not the neck ✔ Tape end in place, no clips or pins ✔ Re-check bandage regularly ✔ Change it daily or if soiled ✔ Watch for signs of infection ✔ Treat yourself. You earned it.
Read More: What Is a Slicker Brush for Dogs? Solve Matted Fur Fast
FAQs About How to Bandage Dog Ear
1. Can I use human first-aid supplies?
Yes, but cautiously. Avoid sticky Band-Aids and opt for self-adhesive wraps that don’t stick to fur. Sterile gauze and pet-safe antiseptics are key.
2. How long should I keep my dog’s ear bandaged?
Usually, 1–3 days, depending on the severity of the injury. Remove if it becomes dirty, loose, or uncomfortable. Let the ear breathe once healing begins.
3. What if my dog keeps shaking it off?
Try using a soft recovery cone or distraction techniques, such as a frozen peanut butter toy. If nothing works, consult your veterinarian for assistance with a better-fitting wrap.
4. Can I bathe my dog while the bandage is on?
Avoid water until the wound has closed completely. Wet bandages = breeding ground for bacteria.
5. Are ear injuries common in dogs?
Yes! Especially in floppy-eared breeds or very active dogs. Minor wounds from scratching, playing, or shaking their head are super common.
Experts Thoughts: You’re a Canine Medic Now
Congratulations, dog parent you now know precisely how to bandage dog ear at home the right way. With a bit of patience, the right supplies, and lots of belly rubs, your pup will be back to tail-wagging in no time.
Remember, if things look sketchy or your pup isn’t healing, don’t hesitate to call your vet. But for minor nicks, scratches, or mild bleeds you’ve got this.
Do questions, stories, or success tales? Drop a comment below! Max and I are all ears.


