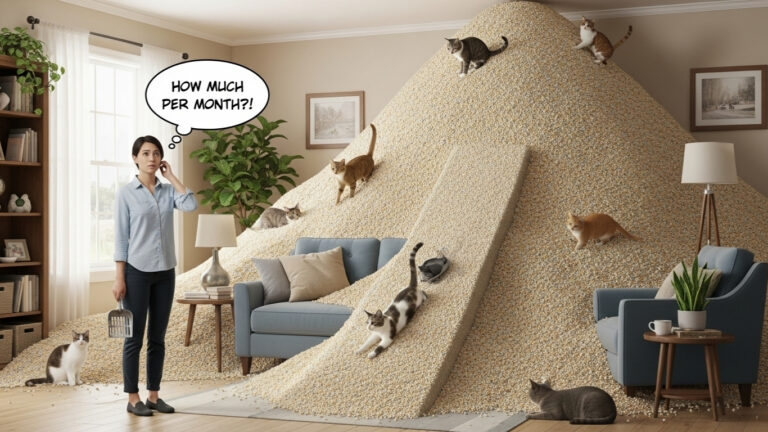
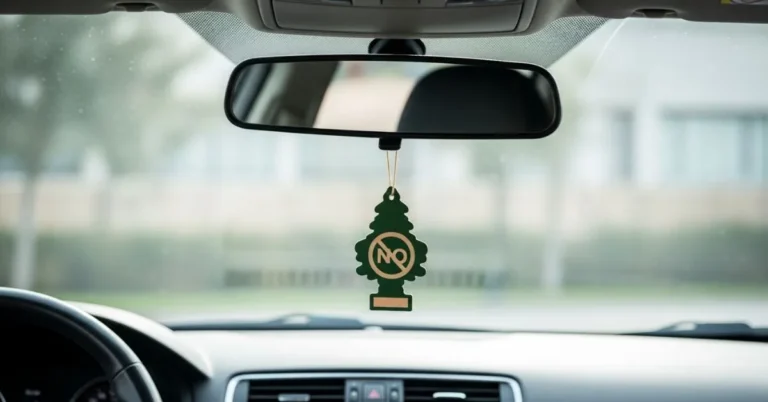
Imagine: You shuffle out of bed, desperate for caffeine, only to be ambushed by a whiff of Eau de feline. You follow your nose, and there it is your cat’s litter box looks more like a disaster zone than a designated potty place.
And guess what? You used non-clumping cat litter. It sounded great in theory affordable, low dust, better for your kitten but now you’re wondering how to keep it clean.
Good news, fellow cat parent: you’ll learn how to clean non clumping cat litter like a pro. No gimmicks. No nose-holding. Just an easy, affordable, and pet-safe method to keep your litter box (and sanity) in check.
Contents
- 1 Why Choose Non-Clumping Litter in the First Place?
- 2 Step 1: Arm Yourself with the Right Cleaning Tools
- 3 Step 2: Scoop Solid Waste Every Day (No Excuses)
- 4 Step 3: Stir (Don’t Shake) to Absorb Moisture Better
- 5 Step 4: Do a Full Litter Change Every 3–5 Days
- 6 Step 5: Neutralize Odors Naturally
- 7 Step 6: Refill With the Right Amount of Litter
- 8 Step 7: Keep the Area Around the Box Clean
- 9 Step 8: Watch for Odor or Behavior Changes
- 10 Sustainability, Affordability & Safety Tips
- 11 5 FAQs: Let’s Clear the Air (Literally)
- 11.1 1. How often should I change non-clumping cat litter completely?
- 11.2 2. Can I scoop out wet spots like with clumping litter?
- 11.3 3. What type of scoop works best for non-clumping litter?
- 11.4 4. Is baking soda safe for cats in the litter box?
- 11.5 5. What’s the best non-clumping litter for odor control?
- 12 Expert Thoughts: You’ve Mastered the Scoop Life
- 13 About the Author
Why Choose Non-Clumping Litter in the First Place?
Let’s be real non-clumping litter often gets a bad rap. But it’s not all dust clouds and stench bombs. There are positive reasons people choose it:
- Gentler for kittens and senior cats
- Affordable and widely available
- Lower dust levels (especially helpful for allergy-prone households)
- Biodegradable options like paper, wood, or corn
- Some types even track less than clumping clay
The catch? It needs more TLC to keep things fresh, which is precisely what this guide is for.
Step 1: Arm Yourself with the Right Cleaning Tools
Before diving into the actual cleaning, prep like a litter-cleaning ninja:
Must-Have Supplies:
- A fine-mesh litter scoop (not your average wide-hole kind)
- Gloves – because ew.
- An eco-friendly trash bag or compostable liner
- Baking soda or a natural deodorizer
- A spray bottle of pet-safe cleaner or diluted vinegar
- Optional helpers: disposable box liners, a litter mat, and a mini vacuum
Eco Tip: Use biodegradable trash bags or reusable liners to reduce waste.
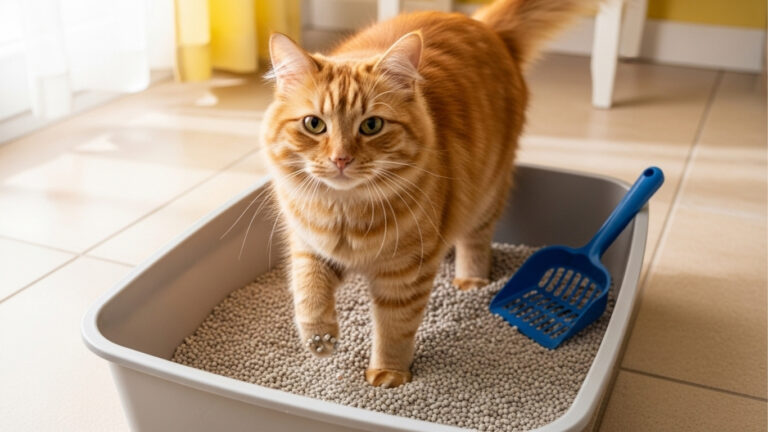
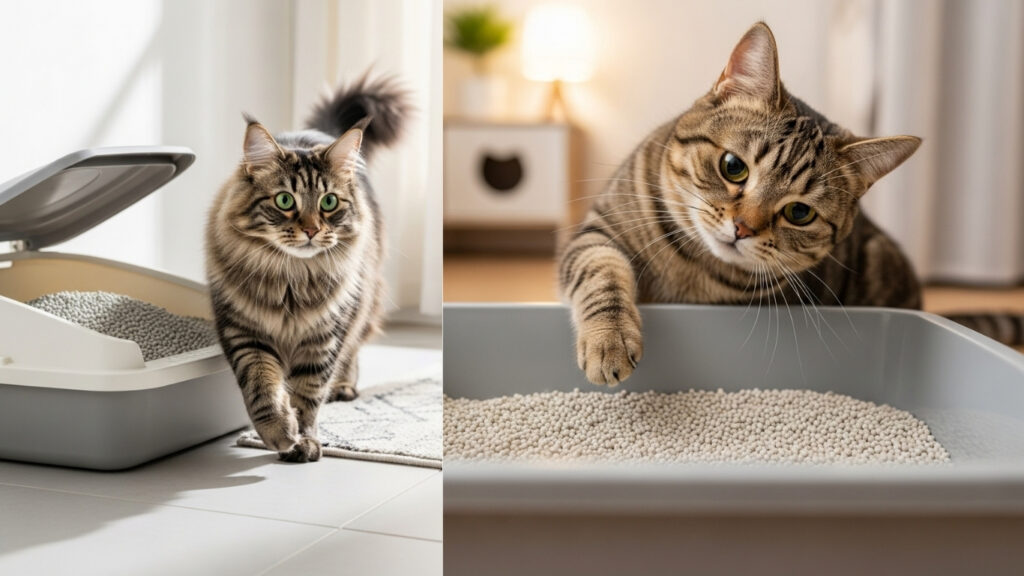
Step 2: Scoop Solid Waste Every Day (No Excuses)
This is non-negotiable. Unlike clumping litter, where you can leave a clump for a day (or three; we won’t judge), nonclumping litter needs daily attention.
- Scoop solids at least once daily more if you have multiple cats
- Use your fine-mesh scoop to remove droppings without dragging out too much clean litter
- Check corners and edges (cats love to aim weirdly)
Pro Tip: Stir the top layer lightly to break up moisture spots and extend litter life but don’t mix too aggressively.
Step 3: Stir (Don’t Shake) to Absorb Moisture Better
Here’s a little-known secret in the cat care world: gently stirring your litter helps dry out absorbed urine. Think of it as fluffing your cat’s sandbox.
Why this works:
- Evenly distributes wet areas
- Allows airflow to reduce sogginess
- Buys time before the following complete change
Don’t go full stir-fry chef on it you want to spread moisture without making it a soggy mess.
Step 4: Do a Full Litter Change Every 3–5 Days
Unlike clumping litter, you can’t spot clean clumping litter for weeks. The longer it sits, the smellier it gets.
Here’s how to clean non clumping cat litter thoroughly:
- Empty the entire box into a trash bag
- Scrape stuck spots from the bottom
- Wash the box using hot water and gentle, unscented soap (avoid bleach or ammonia harmful to cats!)
- Rinse it well and let it air dry thoroughly before topping it up again.
Natural Disinfecting Tip: Mix equal parts white vinegar and warm water in a spray bottle. Spray the litter box and let it sit for 5 minutes before rinsing.
Read More: How Much Cat Litter to Use: Expert Tips for Every Cat Household
Step 5: Neutralize Odors Naturally
Now for a breath of fresh air literally.
Before pouring fresh litter, sprinkle a thin layer of baking soda or use a natural odor neutralizer. This prevents smells from taking over between full cleans.
Look for:
- Bamboo charcoal odor absorbers
- Unscented clay-based deodorizers
- Plant-based odor-control powders
Avoid heavily scented options cats hate strong smells and might boycott the box altogether.
Step 6: Refill With the Right Amount of Litter
Too little litter = mess. Too much = waste.
So how much should you use?
Stick to 2–3 inches of litter across the base of the box.
If your cat’s a digger (you know the type), you can go up to 4 inches but keep an eye out for litter overflow or waste.
Affordability Tip: By using only the amount you need, you stretch your litter budget without sacrificing cleanliness.
Step 7: Keep the Area Around the Box Clean
Cats are clean freaks. If the area around their litter box is messy, they might find a new spot like your laundry basket (true story).
Daily/weekly tasks:
- Shake off your litter mat
- Use a handheld vacuum or broom to catch stray litter
- Wipe down walls or flooring with a damp cloth or pet-safe spray
Tip: A clean area controls odor and bacteria, making the room fresher.
Step 8: Watch for Odor or Behavior Changes
Sometimes, your litter-cleaning routine is flawless but your cat still refuses the box. If you notice strong smells returning quickly or your cat acting strangely, investigate:
- Is the litter absorbing properly?
- Is the box big enough for your cat’s size?
- Has the box aged past its prime (scratched, smelly plastic)?
- Are there new environmental stressors?
Sometimes, a simple routine or litter brand change can make all the difference.
Sustainability, Affordability & Safety Tips
Because you asked for emphasis, here’s how to keep your routine affordable, safe, and earth-friendly:
Sustainability:
- Use biodegradable litter (like pine, paper, or corn-based)
- Switch to washable litter box liners
- Clean with vinegar instead of chemical cleaners
Affordability:
- Buy litter in bulk
- Stick to reusable tools like metal scoops
- Avoid overfilling to make litter last longer
Safety:
- Avoid ammonia/bleach cleaners
- Use unscented litter and deodorizers
- Make sure your cat has enough space and privacy
Read More: How to Attract Cat to New Litter Box – Easy Tips for Cat Owners
5 FAQs: Let’s Clear the Air (Literally)
1. How often should I change non-clumping cat litter completely?
Every 3–5 days is best. Unlike clumping litter, it absorbs but doesn’t isolate urine, so full replacements are needed frequently.
2. Can I scoop out wet spots like with clumping litter?
Unfortunately, no. Non-clumping litter doesn’t form removable clumps. Urine gets absorbed and spreads through the base, so a complete change is necessary.
3. What type of scoop works best for non-clumping litter?
A fine-mesh scoop works best. It allows solids through but keeps dry litter intact, reducing waste.
4. Is baking soda safe for cats in the litter box?
Yes in small amounts. Sprinkle a light layer at the bottom of the box to reduce odor naturally without irritating your cat’s nose.
5. What’s the best non-clumping litter for odor control?
Look for non-clumping litter made from pine pellets, paper, or corn. These are biodegradable, low-dust, and naturally absorbent.
Expert Thoughts: You’ve Mastered the Scoop Life
So now you know exactly how to clean non clumping cat litter and not just halfway, but like a pro-level cat concierge.
With a consistent routine, the right tools, and a few eco-friendly hacks, you’ll keep your cat’s litter box (and your home) smelling clean and fresh. Bonus: your cat will love you for it.
And if anyone asks how you manage such a fresh-smelling home with a cat, you can confidently say:
“Oh, I’ve got it down to a science and a sprinkle of baking soda.”