How to sharpen a pencil sharpener blade might not be something you’ve ever thought about until your trusted sharpener starts chewing up pencils like a toddler with teething issues.
Imagine this: You’re deep into sketching the perfect curve on your latest art piece or highlighting key notes for your exam when crrrkkk! your pencil tip snaps. You try again. Same result. That once-reliable sharpener? Now it’s grinding, chipping, and utterly disrespecting your creative flow.
It’s a tale as old as pencils themselves. But before you toss your sharpener into the drawer of forgotten tools, here’s a secret the craft stores don’t always share: you can sharpen the sharpener. That tiny blade keeps your pencils on point? It can be brought back to life with simple tools and steps.
So, whether you’re a dedicated artist, a student buried in assignments, or a DIY lover who appreciates sustainability, learning how to sharpen a pencil sharpener blade might be the underrated skill you didn’t know you needed.
Let’s explore this oddly satisfying fix it saves money, reduces waste, and makes pencils pointy again.
Contents
- 1 Why Do Pencil Sharpener Blades Go Dull?
- 1.1 What You’ll Need to Sharpen Your Blade
- 1.2 Step 1: Disassemble the Sharpener (Gently)
- 1.3 Step 2: Inspect the Blade
- 1.4 Step 3: How to Sharpen a Pencil Sharpener Blade the Right Way
- 1.5 Step 4: Clean Up the Blade
- 1.6 Step 5: Reassemble Your Sharpener
- 1.7 Step 6: Test Your Sharpening Success
- 1.8 Tip: Extend the Life of Your Blade
- 1.9 Why Sharpen Instead of Tossing?
- 1.10 FAQs: Sharpening Pencil Sharpener Blades
- 1.11 Expert Thoughts: Sharp Blades, Sharper Pencils
- 1.12 About the Author
Why Do Pencil Sharpener Blades Go Dull?
Just like kitchen knives, pencil sharpener blades get dull with use. Over time, shaving down pencil after pencil especially soft-core colored ones grinds away the blade’s edge. Add in graphite dust, occasional grit from low-quality pencils, and good ol’ wear and tear, and it’s no wonder your sharpener starts struggling.
Common signs your blade needs attention:
- It tears or splinters the pencil wood
- The pencil tip breaks easily
- It leaves jagged or uneven points
- Sharpening takes more effort than usual
Instead of tossing the whole tool, let’s try a DIY fix and learn how to sharpen a pencil sharpener blade to restore its edge.
What You’ll Need to Sharpen Your Blade
Most of these tools are affordable, and you likely have them around the house already:
| Tool | Purpose |
| Mini screwdriver | To remove the sharpener blade |
| Metal file or diamond honing stone | For sharpening the blade |
| Magnifying glass or phone flashlight | To inspect blade sharpness |
| Tweezers or needle-nose pliers | To hold small parts |
| Rubbing alcohol + cotton swabs | To clean graphite residue |
Optional: A lint-free cloth to dry everything and a magnetic tray to hold tiny screws.
Step 1: Disassemble the Sharpener (Gently)
Start by flipping the sharpener over. Most handheld and crank sharpeners have a small screw holding the blade in place.
- Use your mini screwdriver to carefully unscrew the blade.
- Keep the screw and housing parts somewhere safe seriously, these tiny pieces love to disappear.
- Once removed, hold the blade by the sides, not the edge. Even dull blades can cut.
Pro Tip: Take a photo of the sharpener before you remove the blade. This will help you reassemble it later without guesswork.
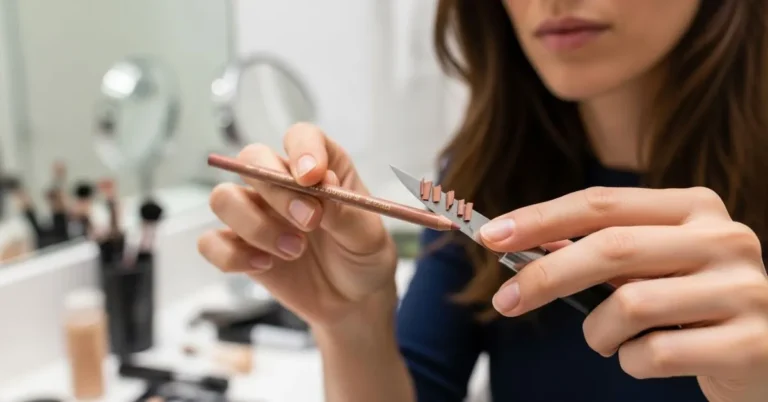
Step 2: Inspect the Blade
Use your flashlight or magnifying glass to inspect the blade. Look for:
- A shiny or flat edge, which means it isn’t exciting
- Tiny nicks or chips
- Rust spots or residue buildup
If your blade is only slightly dull, it’s a great candidate for sharpening. Replacing it may be safer if it’s chipped or severely rusted.
Read More: Can You Bring a Pencil Sharpener on Plane? TSA Rules
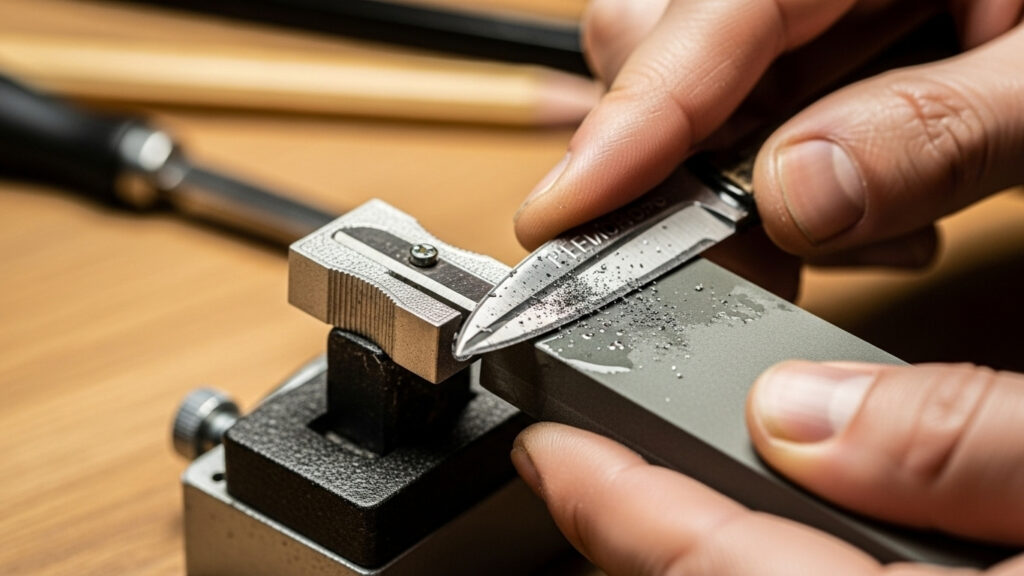
Step 3: How to Sharpen a Pencil Sharpener Blade the Right Way
Ready to bring your blade back to life? Follow these steps to sharpen like a pro:
Using a File or Honing Stone
- Hold the blade at the same angle as its existing bevel usually about 20–30 degrees.
- Using light pressure, draw the blade along your file or honing stone, moving away from your body.
- Make about 10–15 strokes, maintaining the angle throughout.
- Check your progress look for a cleaner, slightly reflective edge.
- Repeat if needed, but don’t over-sharpen. A few precise strokes are better than many sloppy ones.
Avoid filing the flat back side of the blade it doesn’t need sharpening and may get damaged.
Step 4: Clean Up the Blade
Before reassembly, give the blade a quick cleaning:
- Clean graphite or oil buildup using a cotton swab soaked in rubbing alcohol.
- Dry thoroughly with a soft cloth.
- Remove any stray metal shavings or debris.
A clean blade lasts longer and performs better.
Step 5: Reassemble Your Sharpener
Once cleaned and sharpened:
- Place the blade back into its slot, matching its original position.
- Tighten the screw just snug, not overly tight.
- Give the sharpener a little shake to ensure nothing’s loose.
Now comes the moment of truth
Step 6: Test Your Sharpening Success
Grab a test pencil and run it through.
If all went well, you’ll get:
- A smooth, even shave
- A clean, centred pencil point
- No chipping or excessive resistance
If it still feels rough or uneven, the blade might need a bit more sharpening or you may need a new replacement.
Tip: Extend the Life of Your Blade
Once you’ve learned how to sharpen a pencil sharpener blade, it makes sense to help it stay sharper, longer:
- Avoid using cheap or gritty pencils that dull blades fast
- Don’t twist soft-core colored pencils too aggressively
- Empty your sharpener regularly to reduce debris buildup
- Store it in a dry place to prevent rust
Think of your sharpener as a mini precision tool it deserves care!
Why Sharpen Instead of Tossing?
In today’s throwaway culture, even small actions make a difference. When you sharpen a blade instead of replacing the whole unit, you’re:
- Reducing plastic waste
- Saving money
- Extending product life
- Avoiding unnecessary shopping trips
Sustainability doesn’t have to be big or complicated it can be as simple as taking care of your everyday tools.
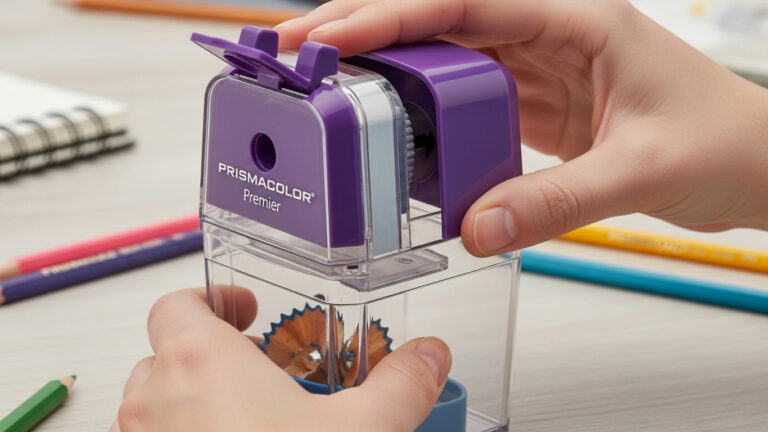
Read More: How to Empty Prismacolor Pencil Sharpener: Step-by-Step Guide
FAQs: Sharpening Pencil Sharpener Blades
1. Can I sharpen a blade that’s glued in place?
Unfortunately, no. If the blade isn’t screwed in or removable, it’s not meant to be serviced. Those are usually single-use designs.
2. What should I do if my blade is rusty?
Soak it in vinegar or gently scrub it with fine steel wool. However, if the rust is deep, replacing the blade is safer.
3. How often should I sharpen my blade?
Depends on usage. Artists might need to do it every 2–3 months. Occasional users? Once or twice a year is plenty.
4. Can I use nail or sandpaper instead of metal files?
Technically yes, but it’s not ideal. They’re less precise and wear out fast. A small diamond file works best and lasts longer.
5. Where can I get replacement blades?
Check Amazon, art supply stores, or directly from brands like Staedtler, Prismacolor, or Kum. Many sell blade refills for just a few bucks.
Expert Thoughts: Sharp Blades, Sharper Pencils
There’s something deeply satisfying about restoring a dull tool to working order. Now that you know how to sharpen a pencil sharpener blade, you’ve unlocked a simple, sustainable way to get more out of your tools and your pencils.
No more splintered wood. No more broken leads. Just smooth, sharp results every time.
So rescue that old sharpener from your desk drawer, give it some TLC, and let your next pencil point make its mark.